Table of Contents
Agency Add-on
The Agency add on is packed with features designed specifically for users managing many sites through their Missinglettr account.
It contains the following modules:
- Agency Dashboard
- Agency Schedule
- Reports
- White labeling
- Clients
1. Agency dashboard
If you have activated the Agency add-on, the first page you reach after logging in is the Agency Dashboard
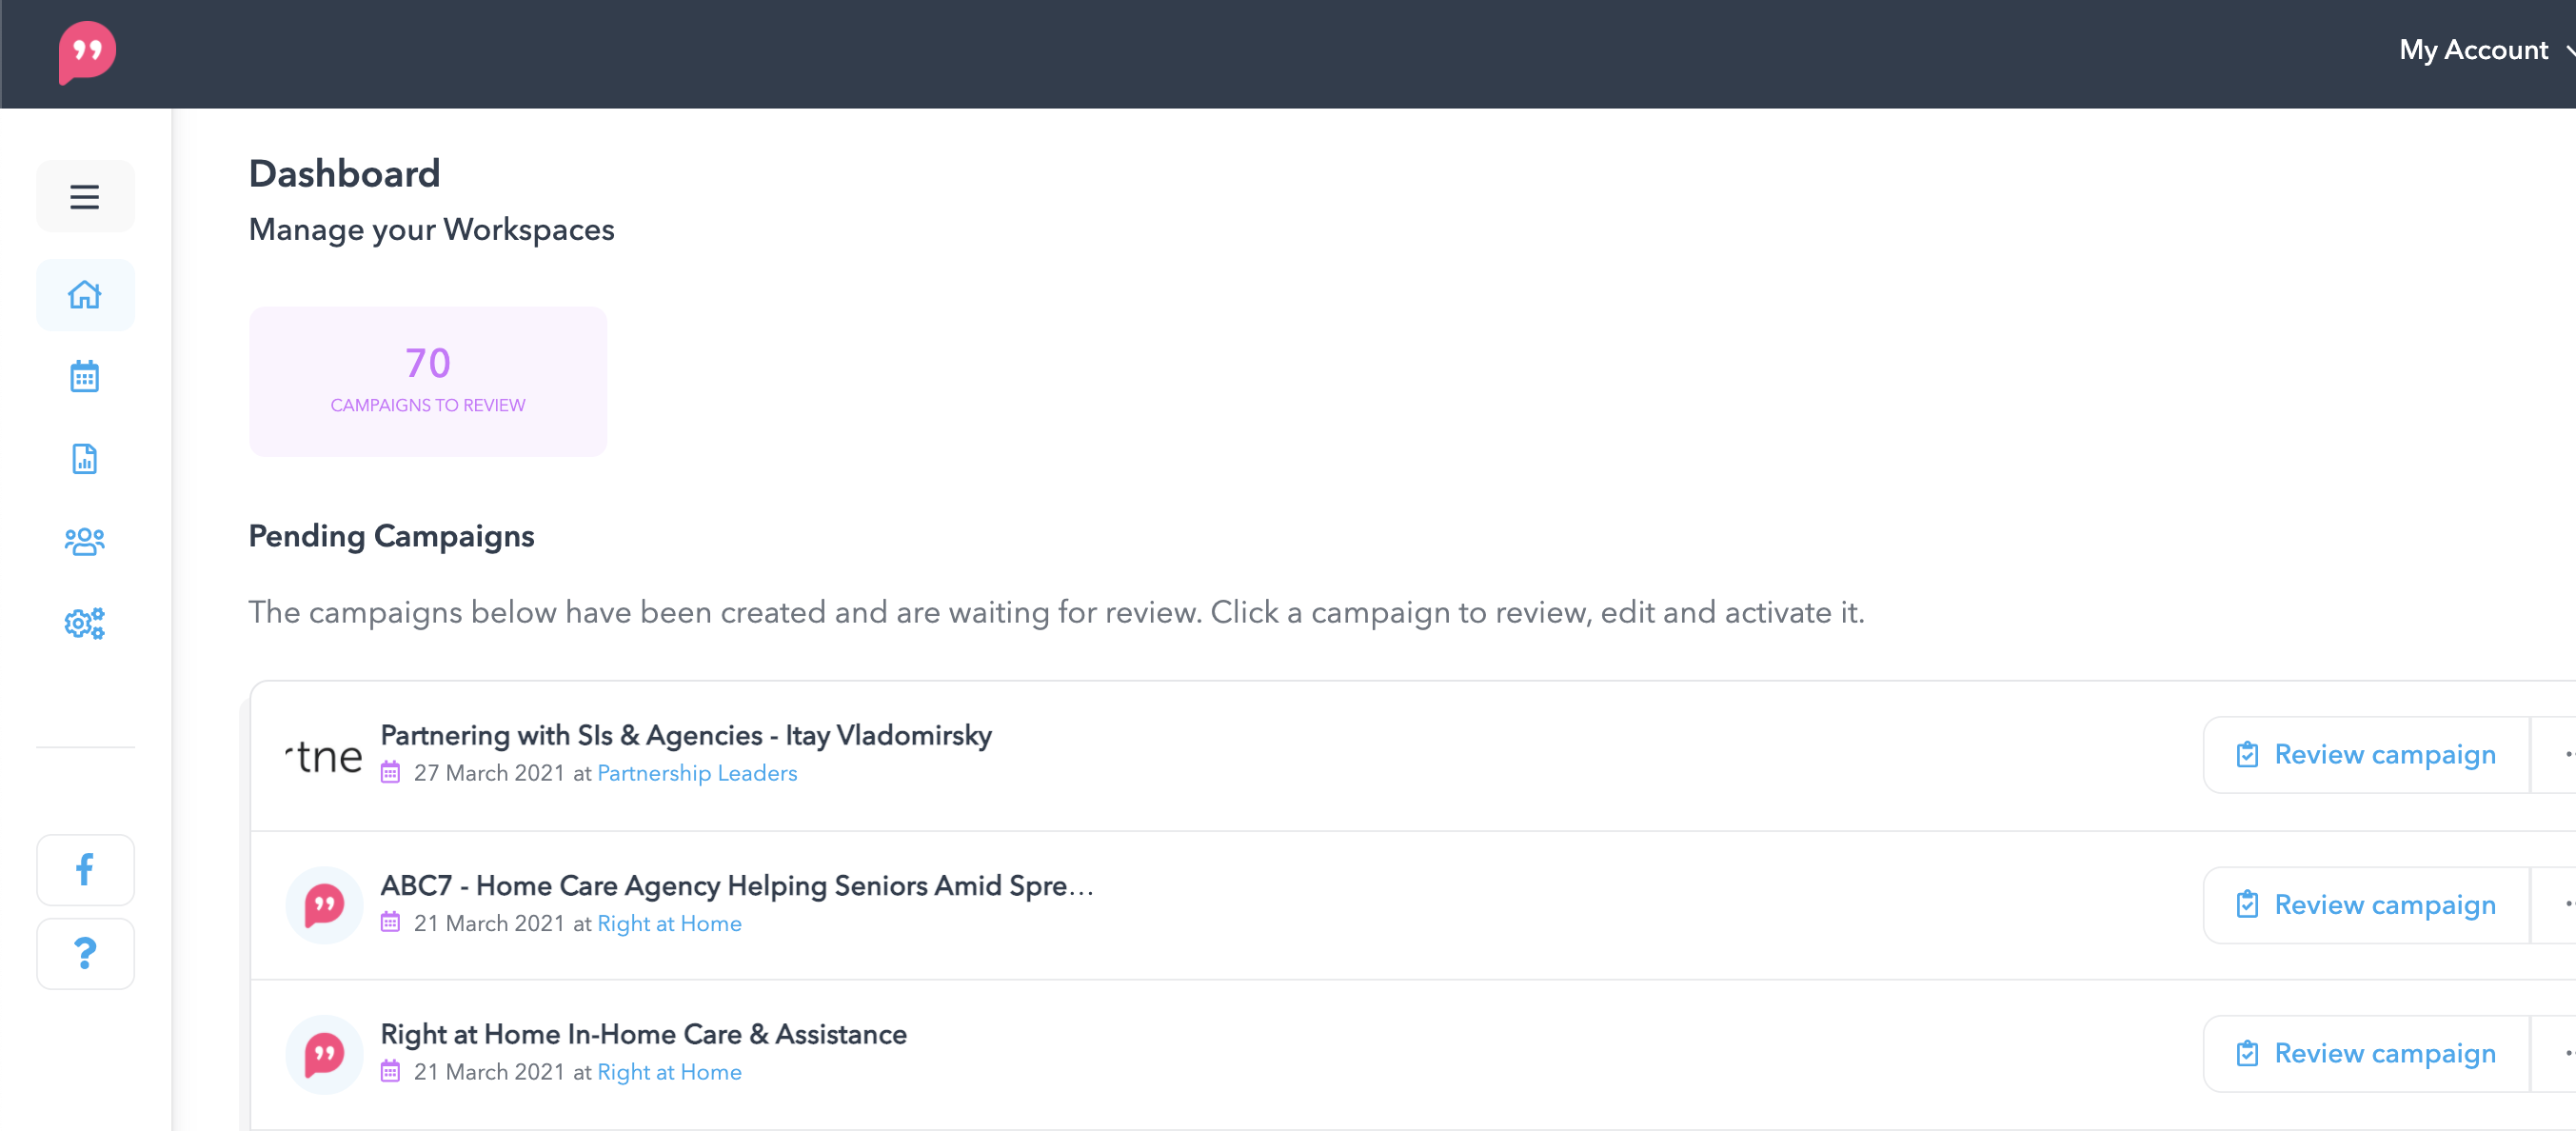
It shows a list of campaigns waiting to be reviewed across all of your sites.
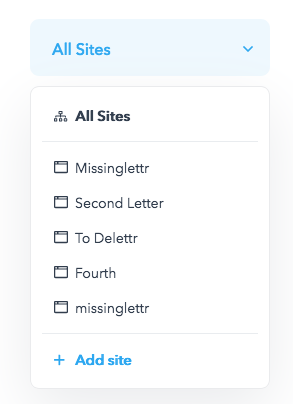
You can reach the Agency dashboard as well any other site dashboard via the dropdown in the top left corner:
2. Agency Calendar
The agency calendar displays all posts scheduled across your sites.
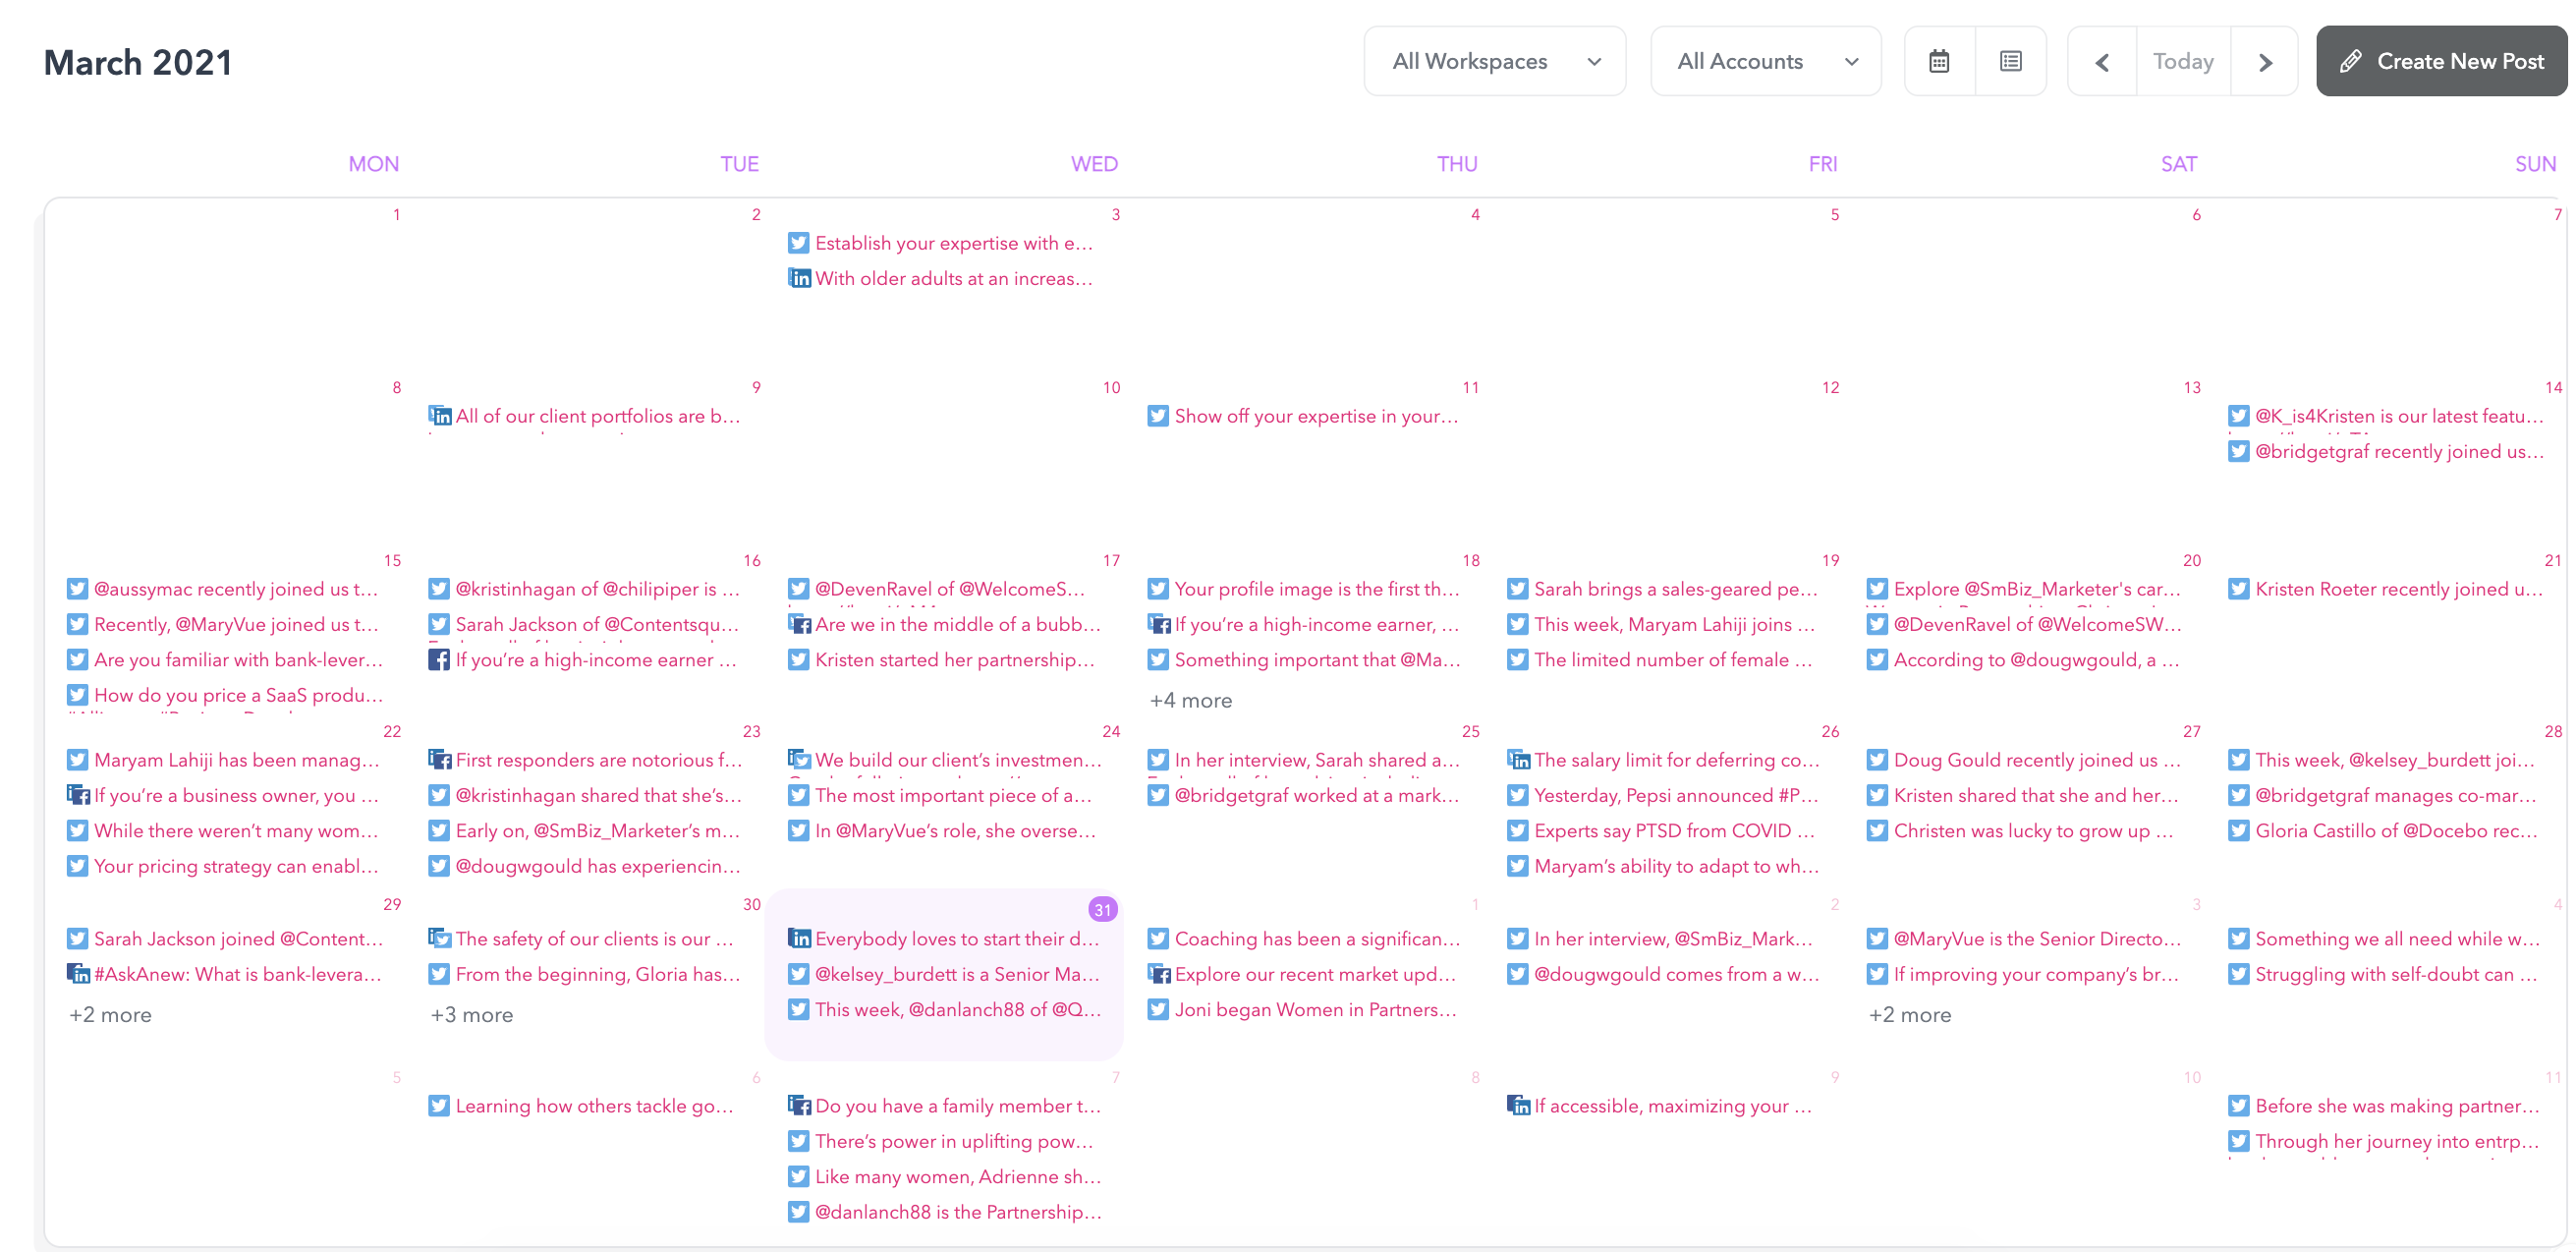
Filtering is possible by site and by social profile - options to choose multiple sites at the same time and exclude others are expected in the launch update, as well as a campaign filter.
3. Reports
Reports allow you to download a PDF version of your click stats for any indicated period and for any number of sites.
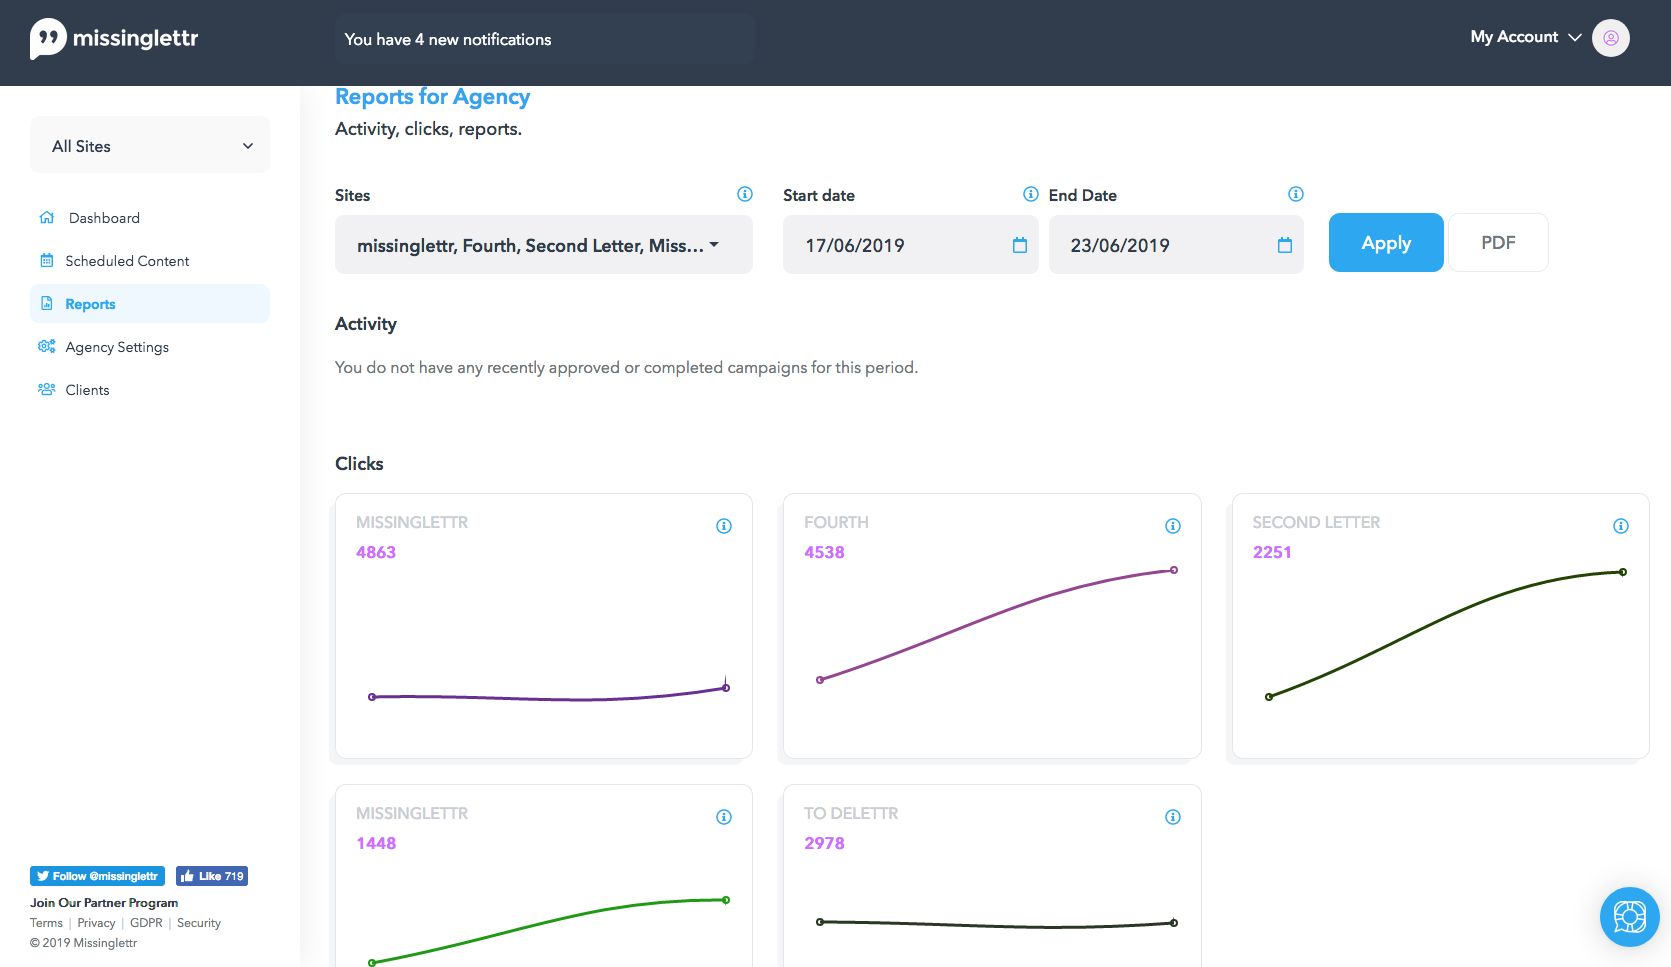
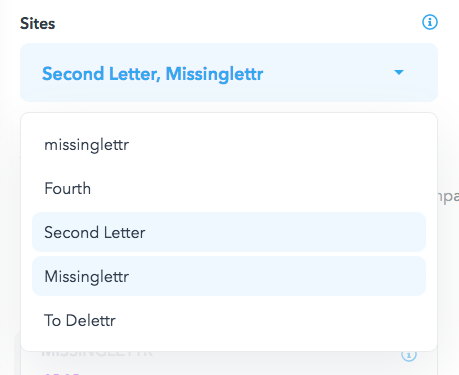
Multiple sites can be selected via the dropdown:
The start and end dates are used to set the time frame of the report:

Once you are happy with your selection, click Apply and you'll see a campaign summary of the indicated period.
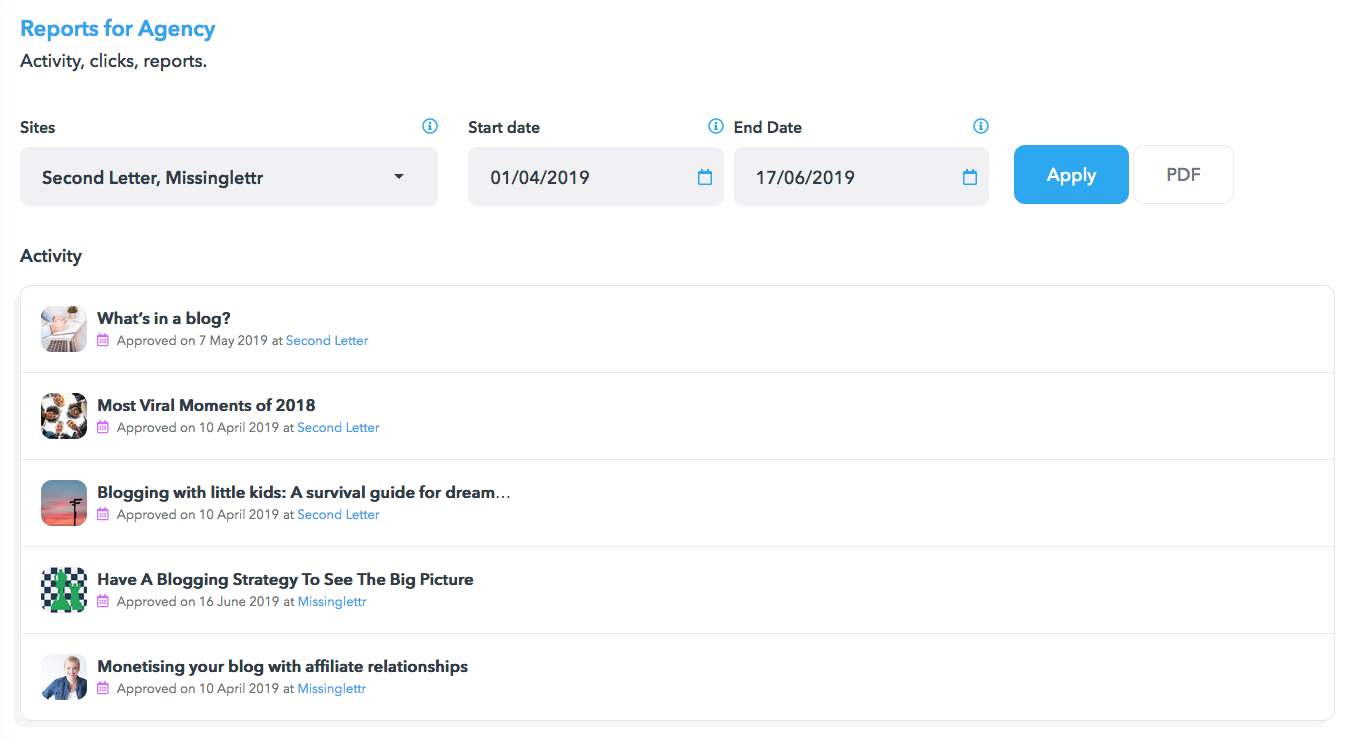
The activity segment shows all of the campaigns which were activated in the selected period. It is followed by the click stats for individual sites:
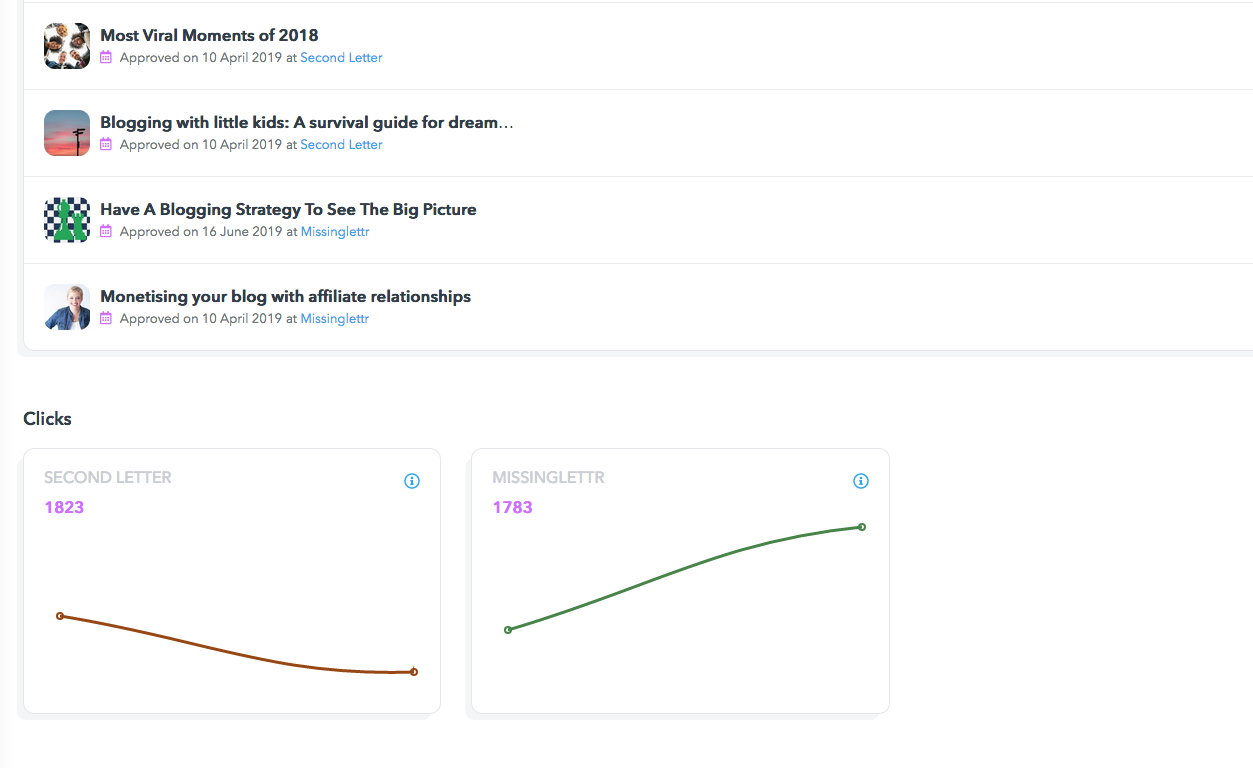
Clicking on the PDF button will begin the download process of your PDF report.
4. White labeling - Agency settings
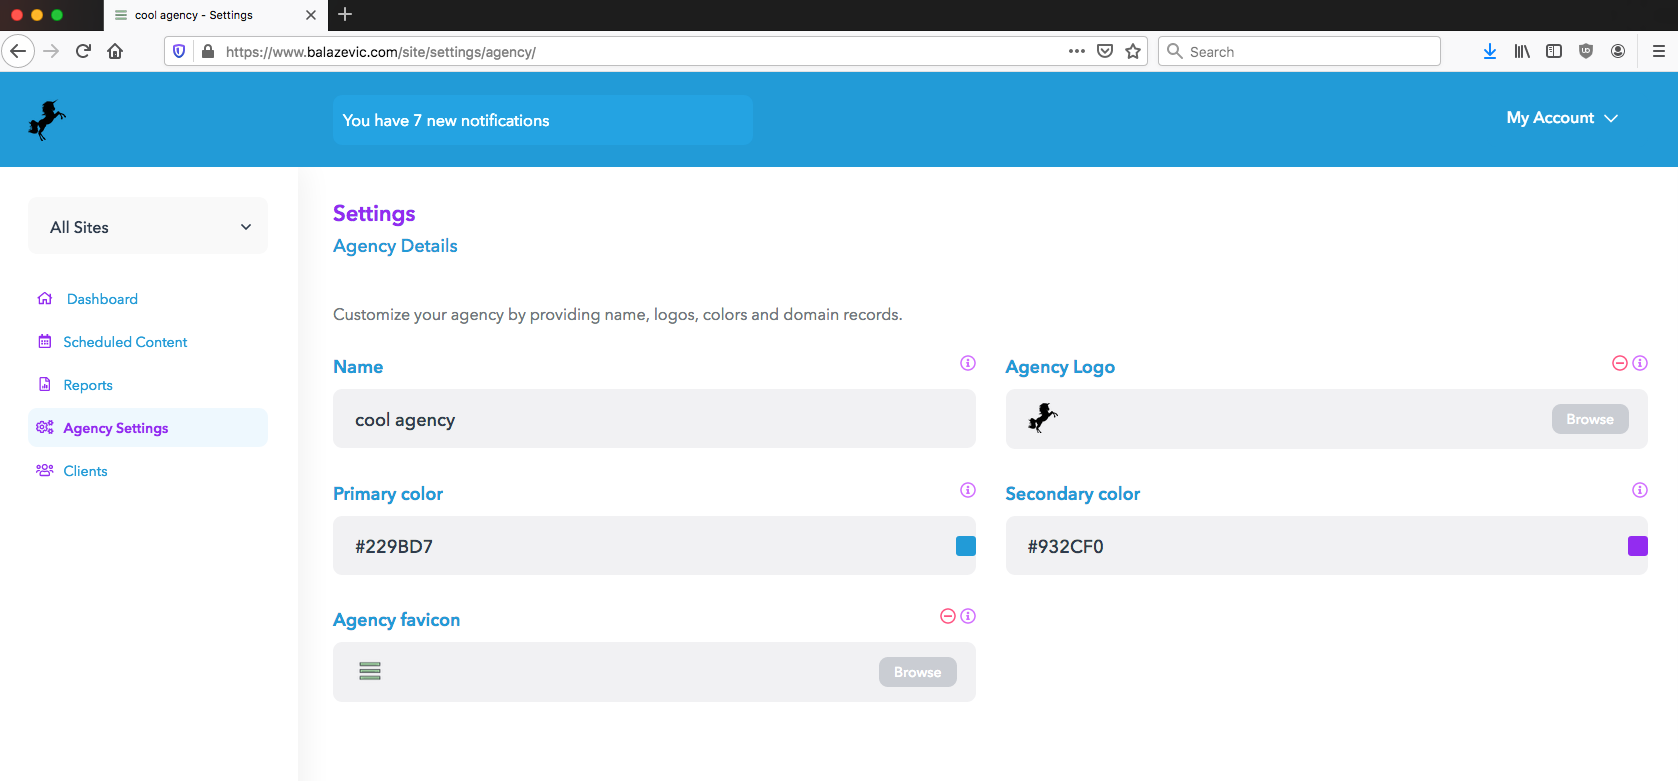
4.1 Customize the user interface
Agency settings contain the customization options for your agency. It is possible to define the logo, colors of the platform, as well as configure the custom and/or subdomain. Your agency name defines the page names visible and the favicon field allows you to upload the favicon to be used for your agency pages.
4.2 Domain settings
4.2.1 Subdomain
To set up a subdomain, just input any value you'd like to use, for example:

Save the changes and navigate to whatever you have set followed by .missinglettr.com - in our example verycool.missinglettr.com
You will be prompted to log in using your Missinglettr account.
4.2.2 Custom domain
Setting up a custom domain requires adding a CNAME record to your domain settings pointed at custom.missinglettr.com
I have a domain I'd like to use to access my agency - www.balazevic.com
In my domain name provider's settings, I set up a CNAME record with the following configuration:

Note: the low TTL is for testing purposes only - use whichever value your other records are configured to use)
Once done, I add my domain to the CNAME field in Agency Settings and hit save.

And that's it - navigate to your domain and you should see a login prompt.
If you aren't able to access it immediately, give a few hours for the changes to propagate throughout the DNS records and try accessing your domain again.
4.3 Custom email
In terms of white labeling the email address used to communicate with your clients (for example, the invite email) use the Custom-domain email address field:

You can use any email you'd like here, as long as you have access to it. Once you input an email, a verification email will be sent to it from Amazon (our email provider) containing a verification link. All you need to do is click on the link, and no further actions are needed.
Once verified, you will notice a green "Email address: verified" flag under the field indicating everything was configured correctly. Once verified, all emails sent from your custom domain version of Missinglettr will be sent from the defined email address.
5. Agency Clients
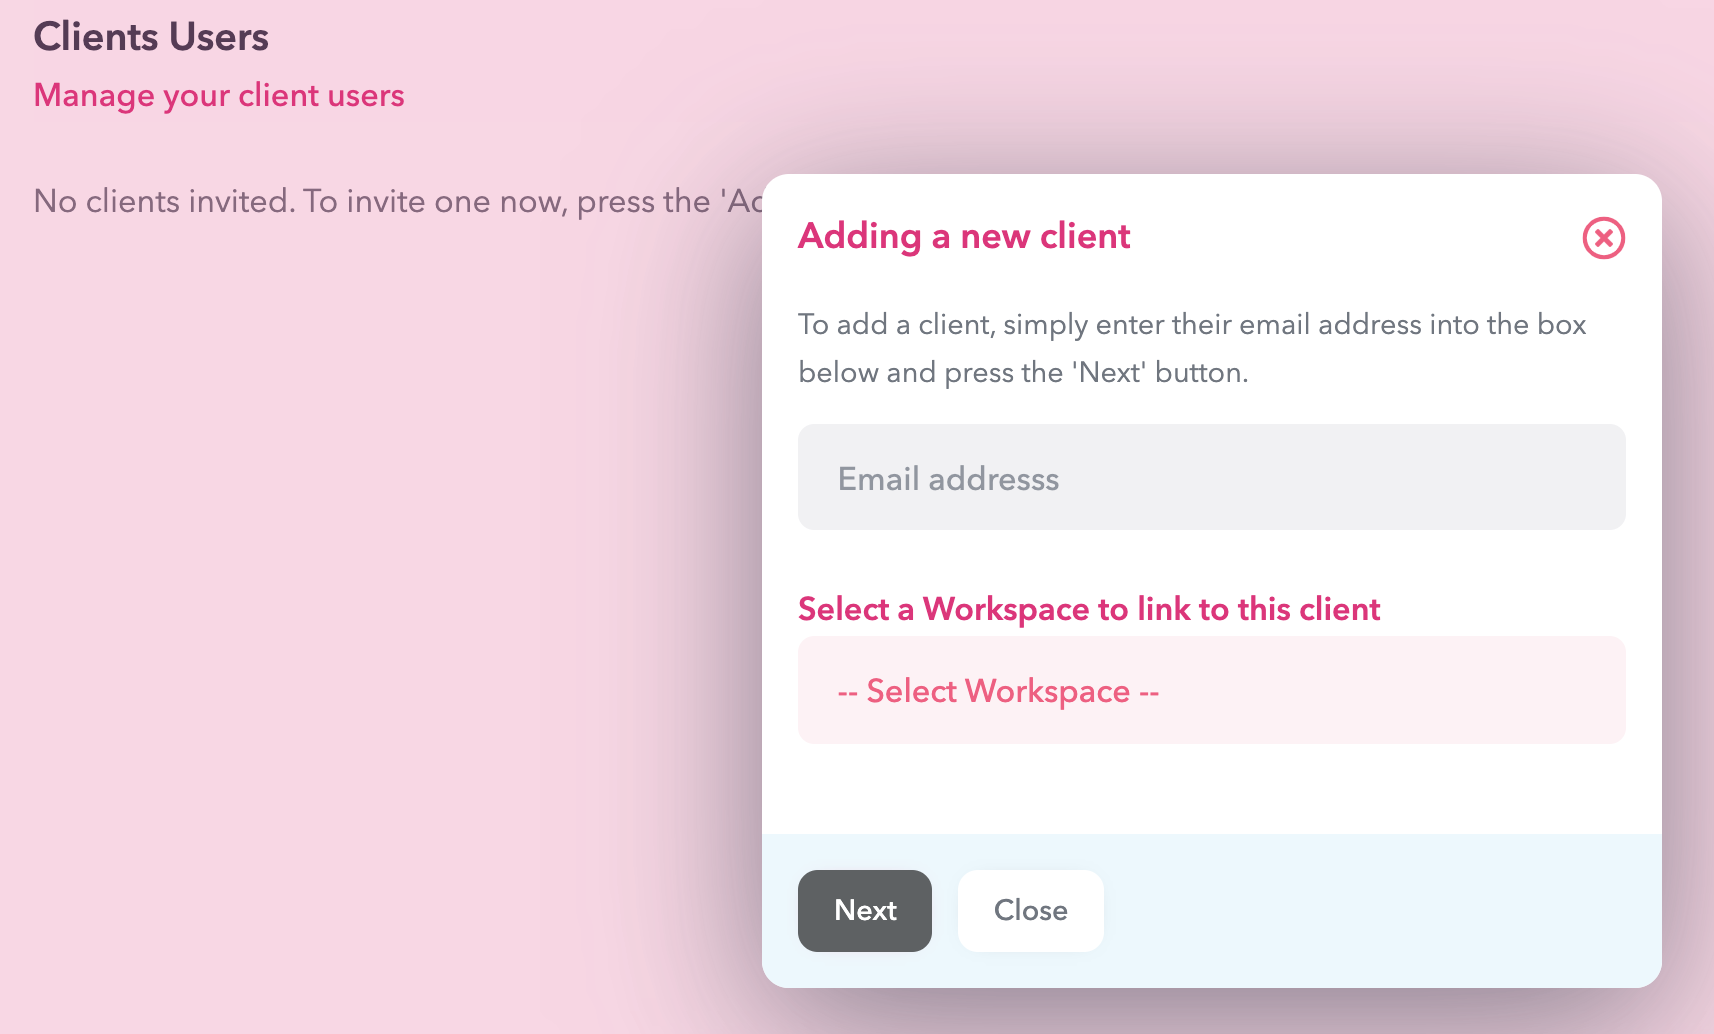
You can invite your clients to join Missinglettr and see their site's dashboard and calendar - Inviting them is possible via the Clients page in the agency menu.
Once invited, you'll see their profile cards on the Agency clients page:
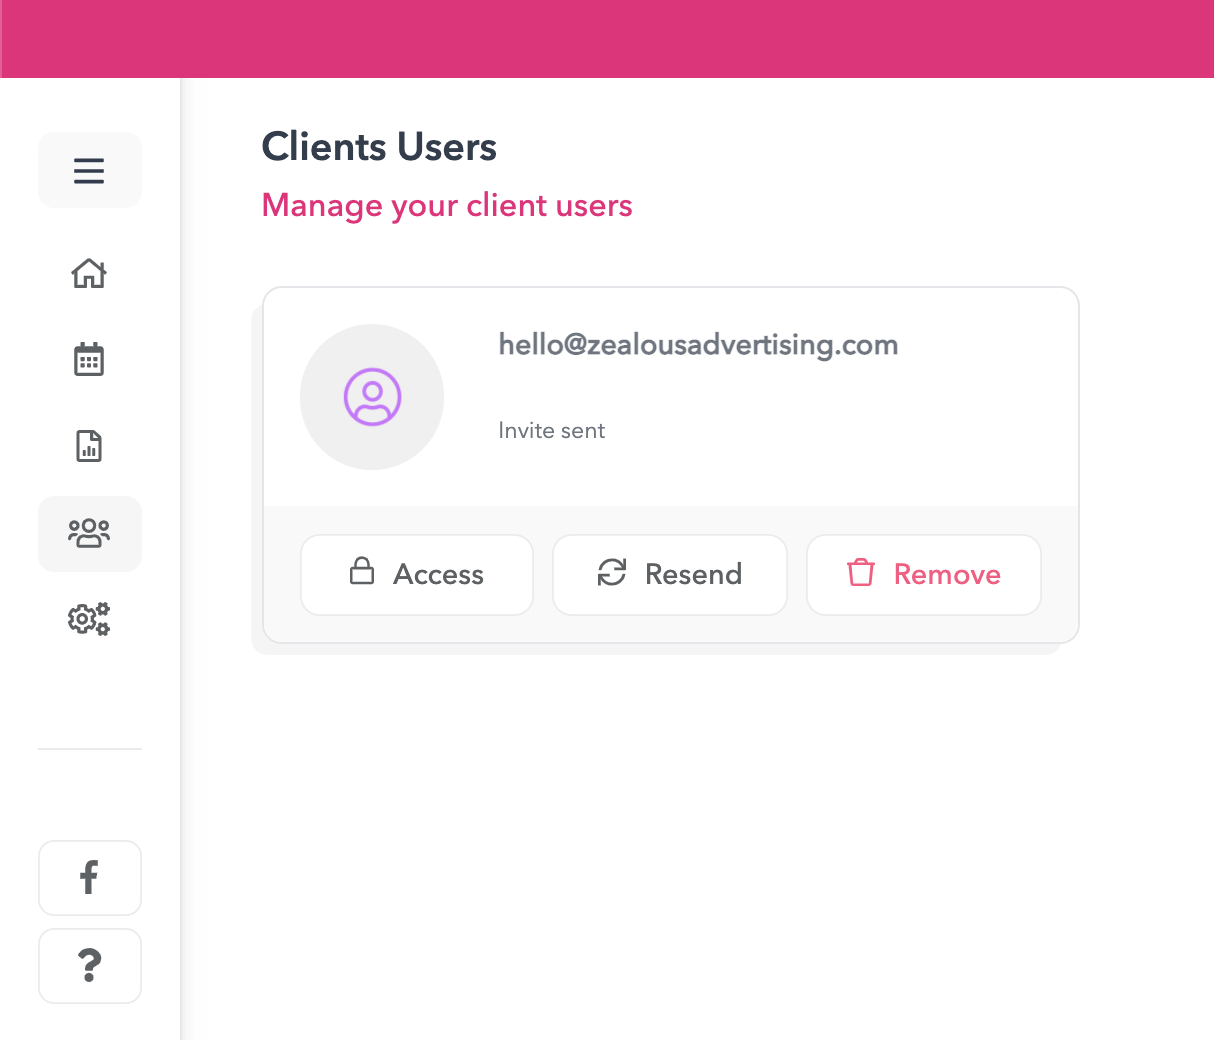
Through the Access button, you can reveal the permissions clients can have:
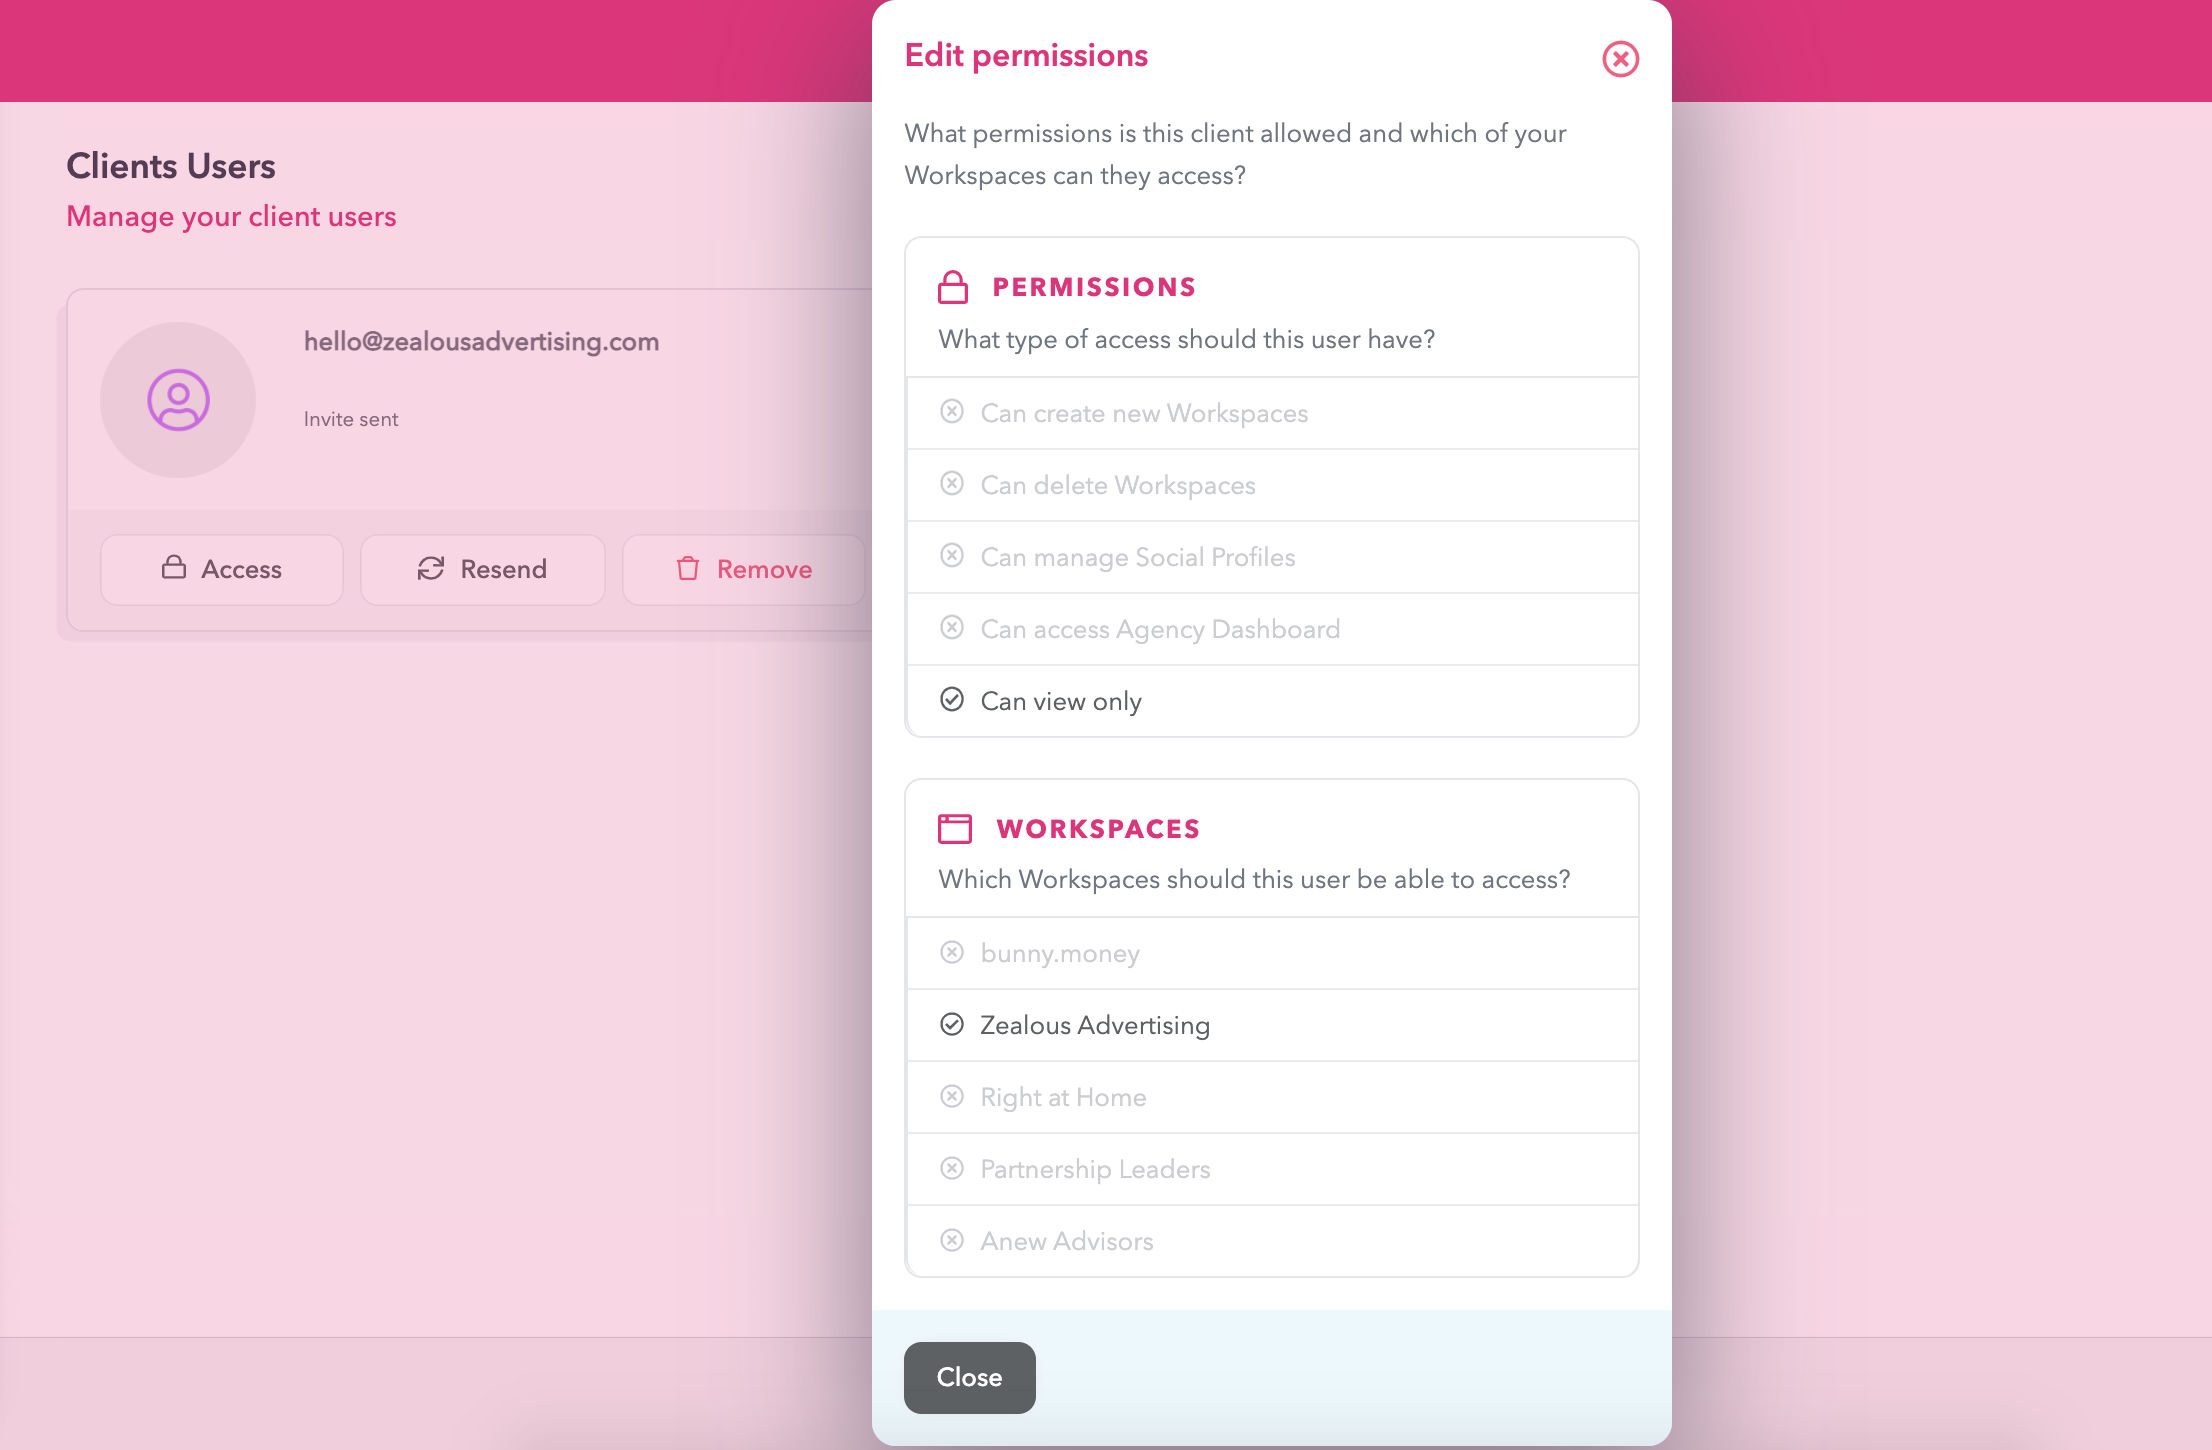
By default, all clients will have the following permissions:
- They can't delete sites
- They can't create sites
- They have view-only access to all accessible pages, except the social profile settings page.
- They have access to the site they were given permissions for during the invite process.
Once you invite your client, they will receive an email inviting them to the platform. After inputting their details their accounts are created and they are redirected to the site they have access to.
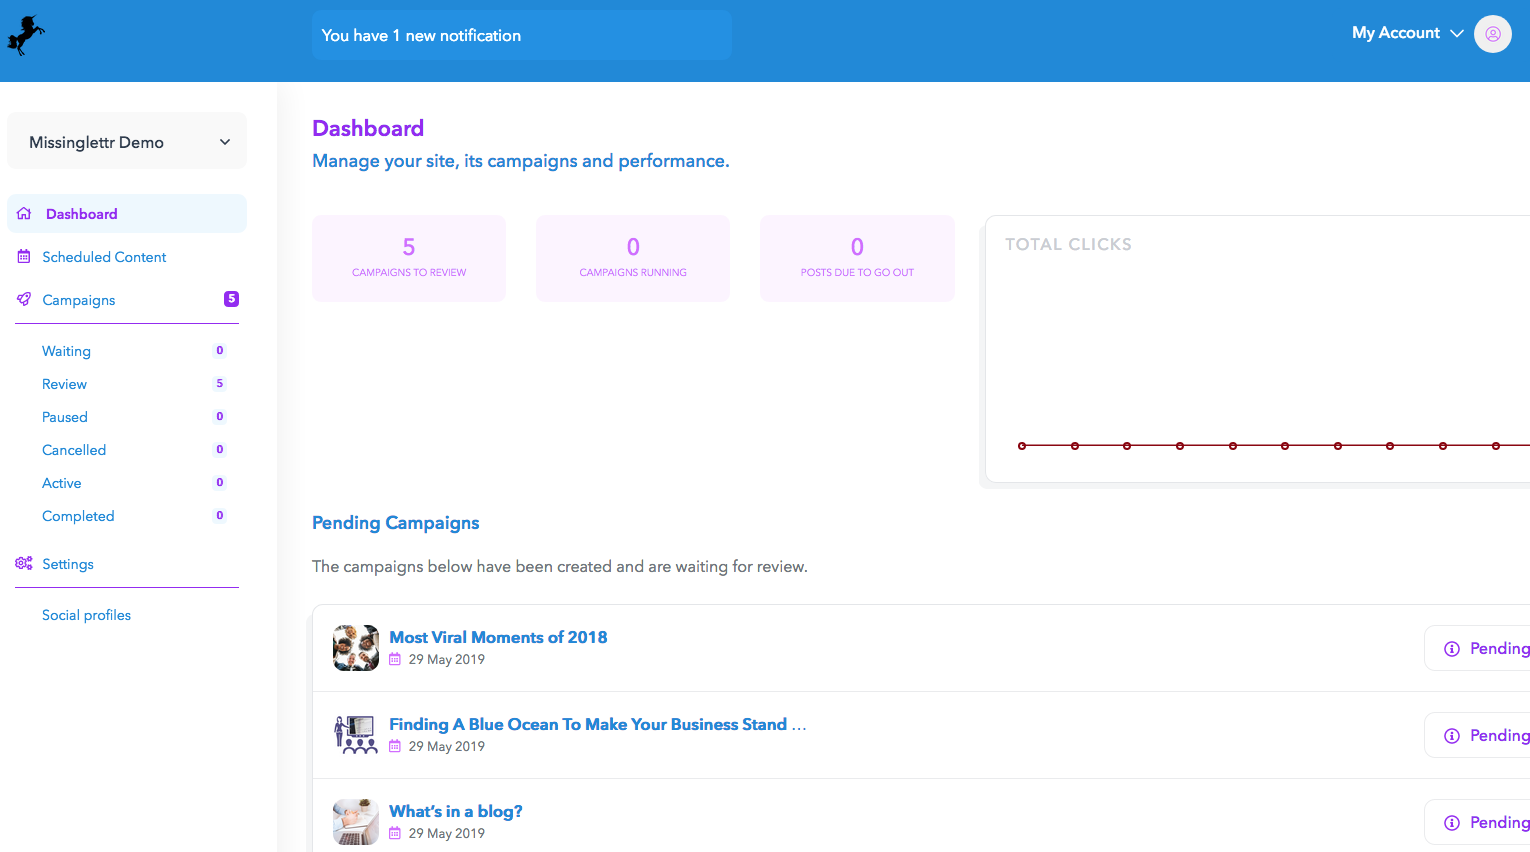
Clients can see lists of campaigns and scheduled content, but not interact with them in any way - in other words, they can't reach campaign review or reschedule a post.
They can connect and manage the social profiles for a site.
